Best WordPress Browser Plugins to Improve UX
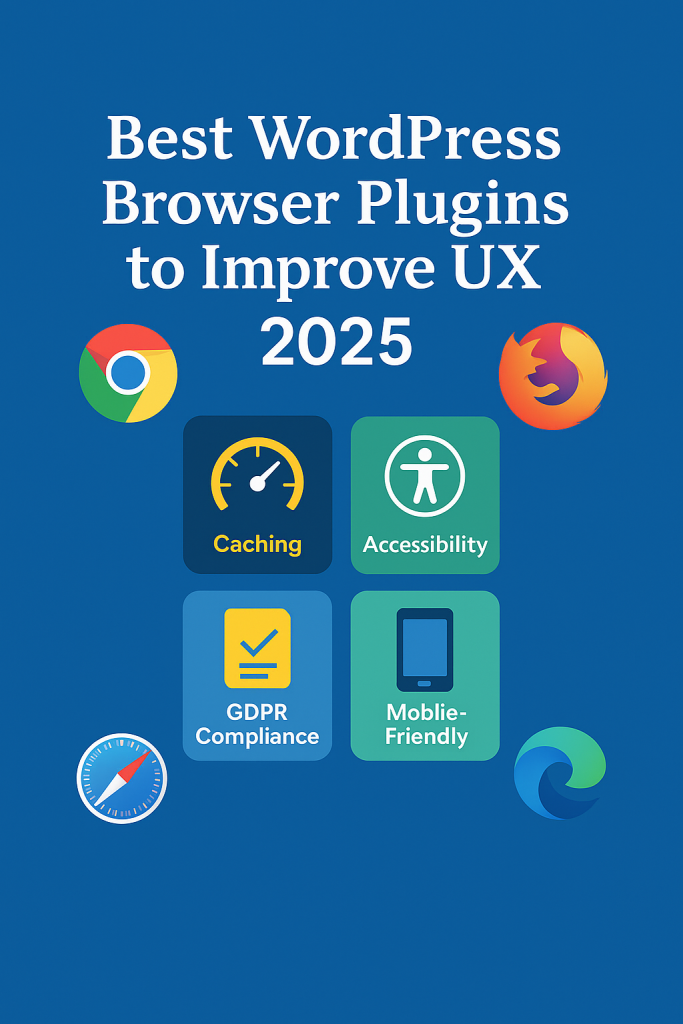
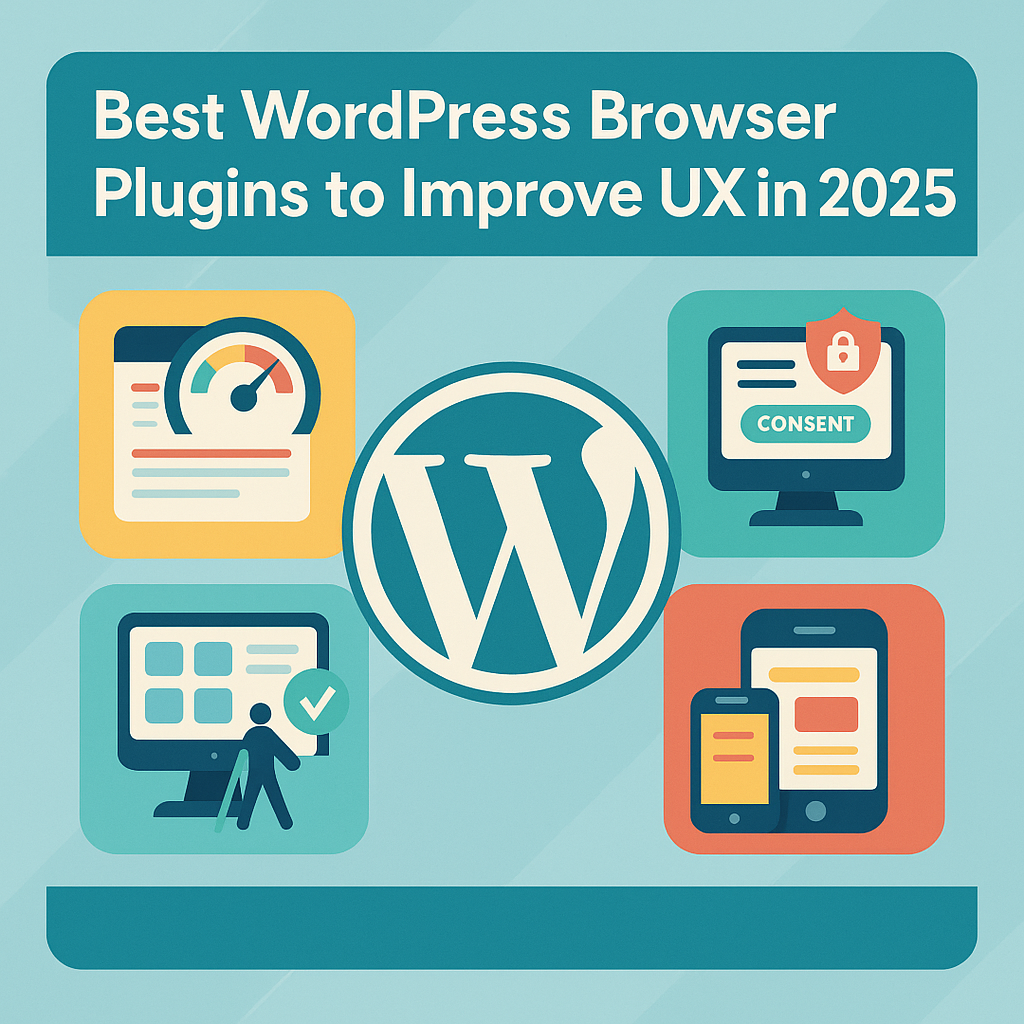
Best WordPress Browser Plugins to Improve UX in 2025
Introduction to WordPress Browser Plugins and UX
In today’s digital world, user experience (UX) plays a critical role in website success. When users visit a website, they expect fast loading times, seamless interactions, and clear navigation — no matter which browser they use. WordPress browser plugins are powerful tools that can enhance how your website performs across different browsers like Chrome, Safari, Firefox, and Microsoft Edge.
These plugins help ensure your site looks and functions correctly, regardless of device or browser choice. Whether you’re managing a blog or a business site, improving cross-browser UX should be a top priority. Because even a small bug or loading issue can turn visitors away, it’s essential to use tools that improve performance and compatibility.
Why UX Matters for WordPress Sites
User experience affects everything from bounce rate to search engine rankings. A slow, clunky site can frustrate users, which leads to higher exit rates. On the other hand, a fast and responsive website keeps users engaged and encourages longer visits. That’s why many WordPress developers turn to WordPress browser plugins that fine-tune UX for every browser.
When your site works equally well on Safari, Chrome, Firefox, and Edge, visitors are more likely to trust and return. It also helps build your brand’s reputation. For inspiration, see our full guide on Safari Browser 2025 and how it handles plugin compatibility.
What Makes a Good WordPress Browser Plugin?
Not all plugins are created equal. A good WordPress browser plugin must improve functionality without adding bulk or slowing down the site. It should be lightweight, updated regularly, and compatible with multiple browsers.
You also want plugins that enhance accessibility, design consistency, and speed. For example, caching plugins, CSS optimizers, and image compressors all help with browser rendering. Most importantly, these plugins should not conflict with your existing theme or other active plugins.
Before choosing any plugin, always read recent reviews and test it on different browsers. Cross-browser testing helps you catch any layout bugs early.
Top Benefits of Using WordPress Browser Plugins
One major benefit is consistent visual design across browsers. Fonts, colors, and layouts can appear differently unless they’re optimized. Plugins ensure everything renders properly, giving your site a professional look on any platform.
Another advantage is faster load times. Plugins that clean up code or compress assets reduce browser workload. Your users get quicker page loads, which can boost engagement and reduce bounce rates.
Additionally, browser plugins often include fallback options. If a feature doesn’t work in one browser, the plugin provides an alternative. This ensures your site is usable by all audiences, no matter what they’re using.
Essential Categories of WordPress Browser Plugins
There are several plugin categories that enhance UX across browsers. Caching plugins like WP Rocket or W3 Total Cache improve load times in Chrome, Firefox, and Safari. These are essential for performance.
Image optimization plugins like ShortPixel and Smush help reduce file size, making images load faster without quality loss. These tools are vital for media-heavy blogs.
Then there are accessibility plugins. They ensure your website remains navigable for people using screen readers or keyboard-only browsing. For a detailed browser-based accessibility review, check out Firefox Guide 2025.
You can also find plugins that allow live cross-browser previews or automatic responsiveness across viewports. These tools save time and prevent rendering errors.
Conclusion
In conclusion, WordPress browser plugins are essential for providing consistent, fast, and user-friendly experiences across all major browsers. From improving load speed to fixing layout bugs and accessibility, these tools enhance both user satisfaction and SEO.
If you’re just starting out, don’t forget to review our complete WordPress blog setup guide, where we explain how browser plugins play a role from day one. Part 2 will explore top free and premium plugins that can take your UX to the next level.
Top Free WordPress Browser Plugins for UX
Let’s now explore some of the best free WordPress browser plugins that can improve your website’s user experience immediately. These tools are popular among developers and site owners because they provide essential browser-level enhancements without any cost.
1. WP Super Cache
This plugin creates static HTML files that browsers can load quickly, bypassing heavier PHP scripts. It supports browser caching, which boosts speed and reduces server load.
2. Autoptimize
Autoptimize helps by aggregating, minifying, and caching scripts. It also supports lazy loading images and deferring CSS. All of this improves how browsers process your pages.
3. WP Accessibility
This plugin offers keyboard navigation, skip links, and contrast toggles — all important for accessibility compliance. It’s optimized for modern browsers and improves usability for visually impaired users.
4. WP User Avatar
User experience also depends on personal touches. WP User Avatar allows users to set their avatars via the browser interface. It’s lightweight and works well across different browsers.
Recommended Premium WordPress Browser Plugins
Free plugins offer great functionality, but sometimes you need premium tools for advanced features. Let’s look at some premium WordPress browser plugins worth considering:
1. WP Rocket
Widely regarded as the best caching plugin, WP Rocket improves browser-level caching, file compression, and lazy loading. It requires zero technical knowledge and works out-of-the-box.
2. UserWay Accessibility Widget
This premium plugin offers ADA-compliant accessibility features such as voice navigation, text scaling, and screen-reader support. It’s designed for cross-browser performance.
3. BrowserStack Plugin
For developers who want to test browser compatibility without leaving WordPress, BrowserStack is a lifesaver. It offers real-time previews of your site across hundreds of browsers and devices.
4. WP Touch Pro
Mobile UX is browser-dependent, and WP Touch Pro delivers responsive designs specifically optimized for mobile browsers like Chrome for Android and Safari on iOS.
Speed Optimization Plugins that Work Across Browsers
Speed and UX go hand in hand. Let’s look at plugins that make your WordPress site faster and more stable across all major browsers:
- Smush: Compresses and lazy-loads images for faster rendering in any browser.
- Asset CleanUp: Helps unload unnecessary CSS/JS files per page, speeding up browser parsing.
- Perfmatters: Reduces front-end bloat and accelerates browser-side loading.
Why Cross-Browser Compatibility is Crucial
Not all visitors use the same browser. While Chrome dominates, millions still browse using Firefox, Safari, Edge, and even Opera. A plugin that doesn’t work well across browsers could break layouts, disable interactions, or affect performance.
Using optimized WordPress browser plugins ensures that every visitor gets a consistent and smooth experience, no matter what platform or browser they’re using.
How to Choose the Right Plugin for Your Website
Here are a few tips to help you select the ideal plugins:
- Check compatibility: Look for plugin reviews that mention Chrome, Safari, and Firefox support.
- Test before deploying: Use staging environments to test plugin effects on UX and browser rendering.
- Prioritize lightweight: Avoid bulky plugins that affect speed or load unnecessary scripts.
- Regular updates: Always prefer plugins with recent updates and active support communities.
Conclusion
In this section, we explored both free and premium WordPress browser plugins that directly influence UX across different browsers. Whether you’re optimizing for speed, accessibility, or mobile usability, the right plugin can make all the difference.
Next, in Part 3, we’ll show you how to configure and combine these plugins effectively for a fully optimized browsing experience.
Combining WordPress Browser Plugins Strategically
WordPress browser plugins can make or break your website’s performance. Instead of relying on one bulky solution, smart plugin combinations often produce better results. For example, WP Rocket and Smush work great together. The first improves caching and load time, while the second optimizes images for quick rendering across browsers.
Using these two ensures that your site loads faster and consumes fewer browser resources. It also helps maintain browser responsiveness, especially when dealing with media-heavy pages or animated content.
Another winning pair would be WP Accessibility and UserWay. Together, they deliver screen reader support, color contrast tools, and keyboard navigation — all tailored for browser accessibility. Therefore, they ensure everyone, including users with disabilities, gets a positive experience regardless of browser.
Responsive Menu combined with BrowserStack Plugin enables you to tweak mobile navigation and instantly preview results on real devices. This combination allows you to design menus that adapt perfectly across screen sizes.
If you’re building your site from scratch, refer to our full guide on starting a WordPress blog for foundational plugin tips that help maximize browser compatibility and UX from day one.
Emerging Trends in WordPress Browser Plugins
The world of WordPress is evolving rapidly. One major trend is the rise of PWA (Progressive Web App) plugins. These let your site behave like an app inside browsers, offering offline access, push notifications, and faster interactions.
Many modern themes now support native PWA compatibility via add-on tools. This helps users receive instant updates from browsers like Chrome or Edge and even access your site without internet.
It provides an app-like experience from regular browsers. These features mimic mobile app behavior, increasing user engagement and satisfaction.
Another rising trend is browser-triggered notifications. These plugins re-engage users even when they’re not actively browsing your site.
As a result, they boost repeat visits and help you retain more traffic with minimal effort. Moreover, as privacy becomes a global concern, GDPR-compliant browser plugins are becoming essential.
These tools add cookie consent banners and privacy settings that behave consistently across all browsers. A well-implemented GDPR plugin ensures your site complies with regulations while offering users transparency.
To dive deeper, check our browser review of Google Chrome 2025 for related features.
Common WordPress Browser Plugin Mistakes
Even seasoned developers make mistakes when handling WordPress browser plugins. One of the most common issues is installing multiple plugins with overlapping functionality. This often causes plugin conflicts, especially with JavaScript or CSS rendering in different browsers.
Another mistake is failing to test plugins across multiple browsers. A plugin that functions well in Chrome may cause layout breaks in Safari or Firefox.
To prevent this, always use tools like BrowserStack to test compatibility early in development. Many users also ignore mobile performance. Since a majority of traffic now comes from smartphones, it’s crucial to verify that plugins work smoothly on Android and iOS platforms.
Ignoring page speed is another issue. Plugins that load excessive scripts or images can slow down your site dramatically.
Use tools like GTmetrix and PageSpeed Insights to identify bottlenecks and improve load time. You should also regularly audit plugin performance.
This ensures you don’t keep outdated or abandoned plugins that may cause future security or compatibility problems.
Optimizing WordPress Browser Plugins for Success
WordPress browser plugins are powerful tools for improving your site’s compatibility, speed, and user experience. However, success comes from thoughtful planning and regular maintenance.
Start with plugins that address your core needs and avoid unnecessary add-ons. Test new plugins in staging environments before going live. This allows you to detect browser-specific issues without affecting real users.
You should also update plugins frequently to stay compatible with browser updates and WordPress core changes.
Combining performance-boosting plugins with accessibility-focused tools helps you reach wider audiences.
Always document which plugins are used and why, to make future updates easier. Regularly check for plugin conflicts and slow-loading scripts.
Most importantly, focus on your users’ experience — smooth navigation and fast performance matter across every browser.
For more optimization advice, explore our related articles:
• Safari 2025 Guide
• Firefox Browser Tips
• Microsoft Edge UX Guide
Additionally, check this WP Engine plugin resource for expert recommendations and the latest plugin innovations.